Overview
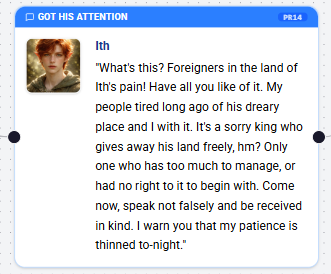
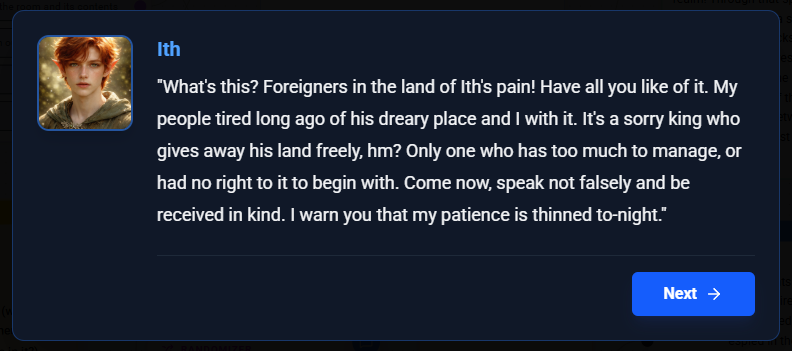
Dialogue Nodes are strictly for character interactions. They represent spoken lines from a specific character (or entity) in your game. Unlike Description Nodes, Dialogue Nodes are visibly attributed to a "Speaker".
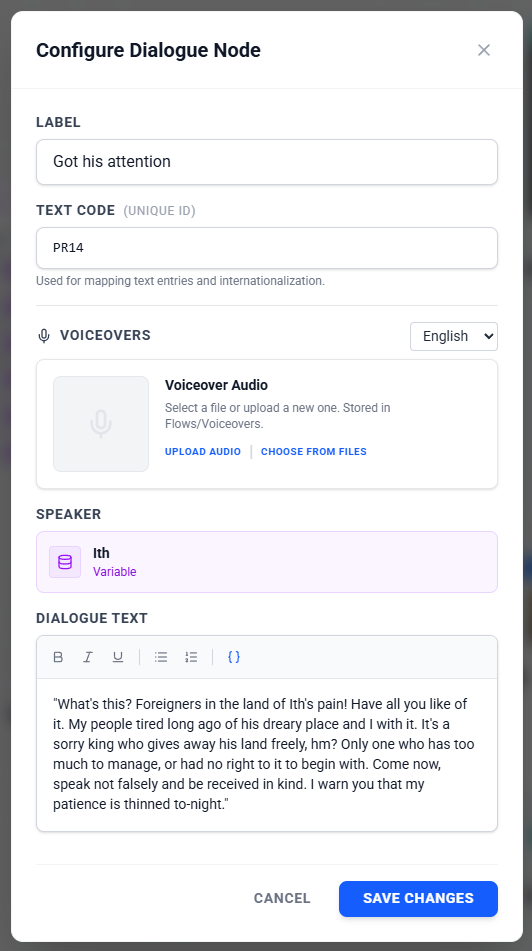
Configuration Steps
1. Select the Speaker
Every line of dialogue needs a source.
- Select Asset: Choose an Asset from your project to be the speaker (e.g., "Hero", "Villain"). The node will automatically display the Asset's name and image.
2. Dialogue Content
This is what the character says. You can use the Rich Text Editor to:
- Write the spoken text.
- add emphasis (bold, italics) to specific words.
- Insert variables to make the dialogue dynamic (e.g., "Hello, [PlayerName]!").
3. Text Codes (Advanced)
Just like Description Nodes, Dialogue Nodes can be assigned a Text Code for localization and external text management.
4. Voiceovers (Optional)
You can attach audio files for voice acting.
- Multiple Languages: Supports separate audio files for different languages if your project is set up for localization.
Common Use Cases
Conversations
- Quest Givers: "Greetings traveler! I have a task for you."
- Party Banter: Characters talking to each other.
Dynamic Responses
- Reactions: "[PlayerName], watch out!" (Using a variable).
- Conditional Dialogue: Using different Dialogue Nodes branching from a Condition Node to show different reactions based on valid facts.
Was this article helpful?
That’s Great!
Thank you for your feedback
Sorry! We couldn't be helpful
Thank you for your feedback
Feedback sent
We appreciate your effort and will try to fix the article